You'll need to jailbreak your device first to remove Activation lock using Unlockit iCloud Remover. Here is the step-by-step guide on how to jailbreak your iPhone, iPad or iPod touch with Checkra1n on your Mac computer:
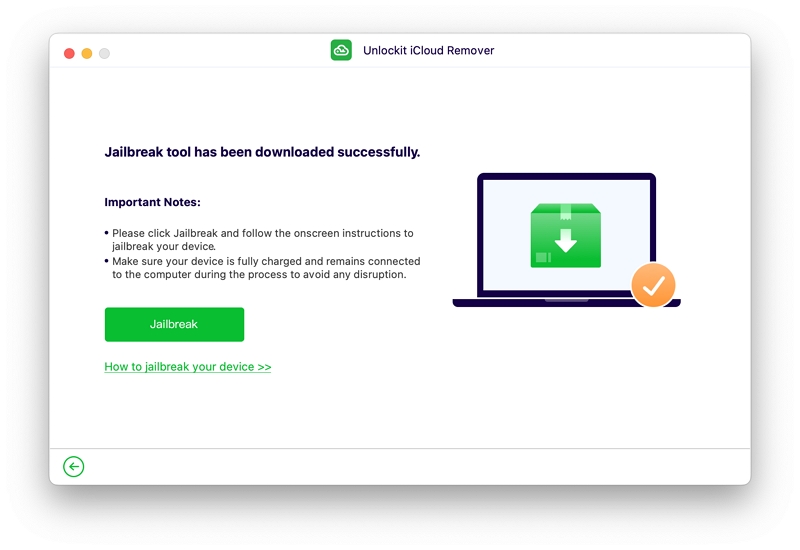
Step 1. Click on the "Jailbreak" button from Unlockit iCloud Remover to launch Checkra1n.
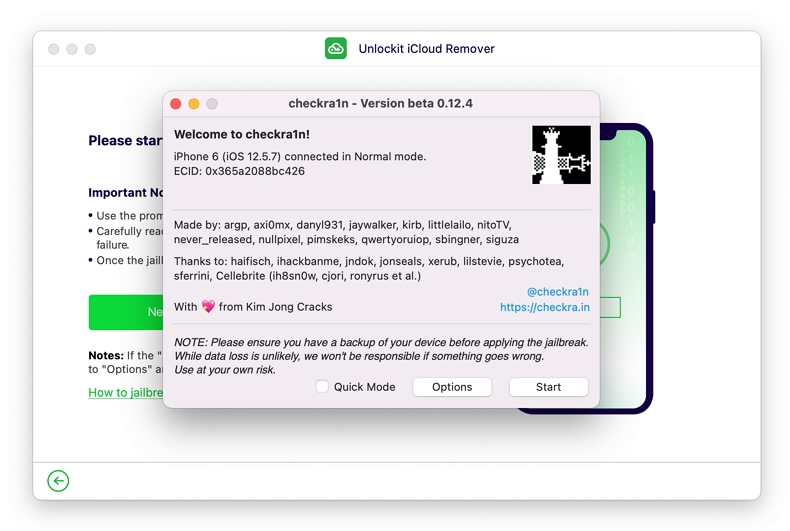
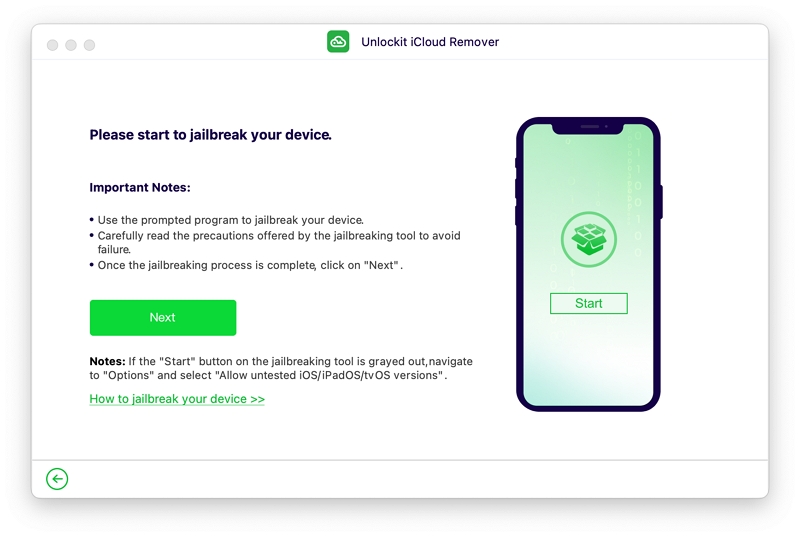
Step 2. Connect your device to the computer using a USB lightning cable. Next, click on the "Start" button from Checkra1n to start the jailbreak process.
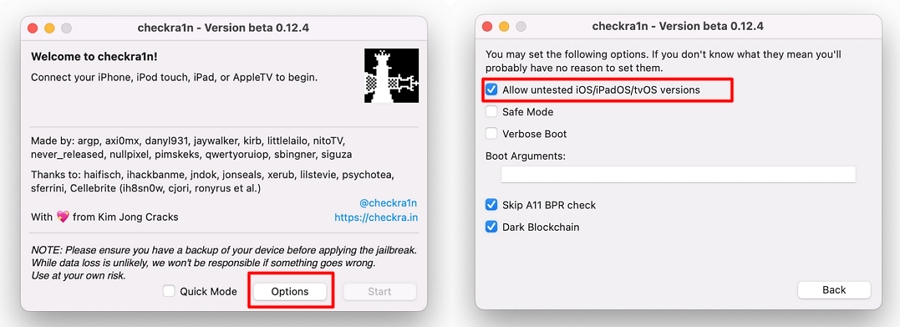
Note 1: If the "Start" button is grayed out, navigate to "Options" and enable the "Allow untested iOS/iPadOS/tvOS versions" setting.
Note 2: For iPhone 8/8 Plus/X users, also ensure to select the "Skip A11 BPR check". Once done, click "Back" > "Start".
Note 3: iPhone 8/8 Plus/X users must go to "Settings" > "Face ID & Passcode" > "Turn Passcode Off" on their iPhones.
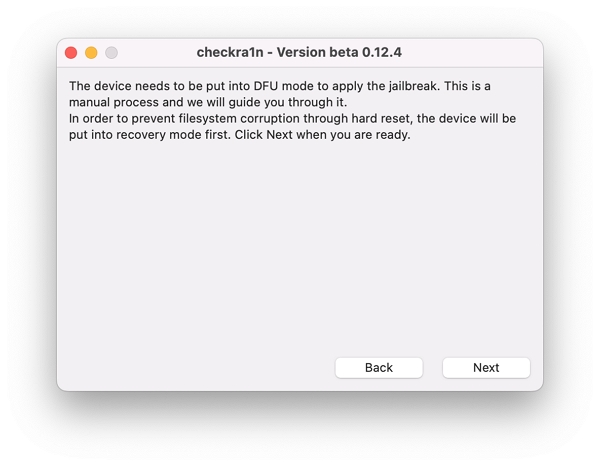
Step 3. The device needs to be put in Recovery mode first then DFU mode to apply the jailbreak. Read the warning thoroughly and click "Next" to proceed.
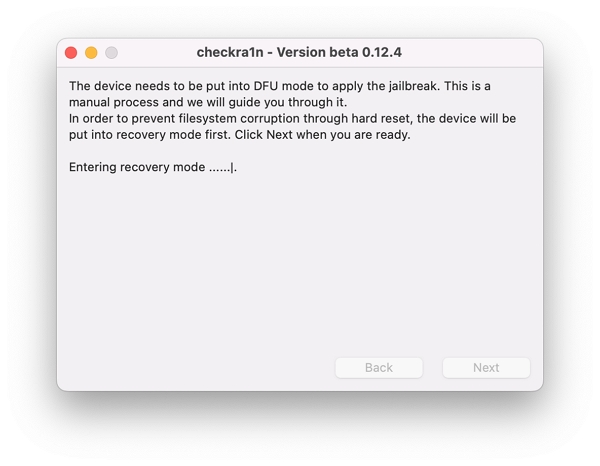
Step 4. Then, Checkra1n will start to put your device into Recovery mode automatically.
Step 5. Once your device is in Recovery mode, follow the on-screen instructions and click on the "Start" button to put it into DFU mode manually.
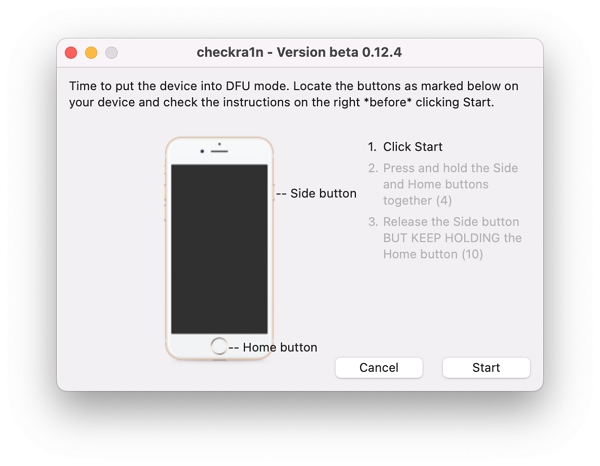
Note: If you fail to put your device in DFU mode, click Retry to try again.
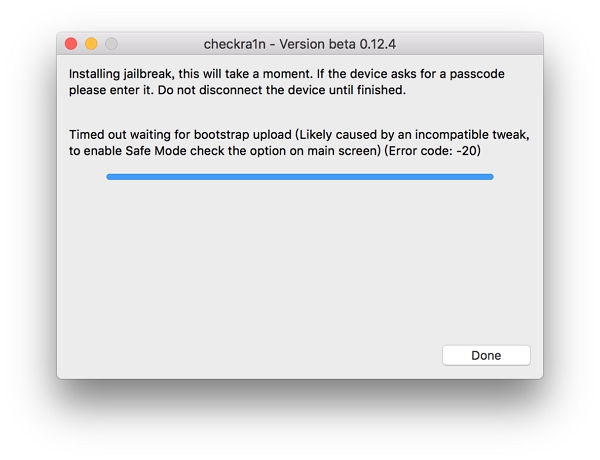
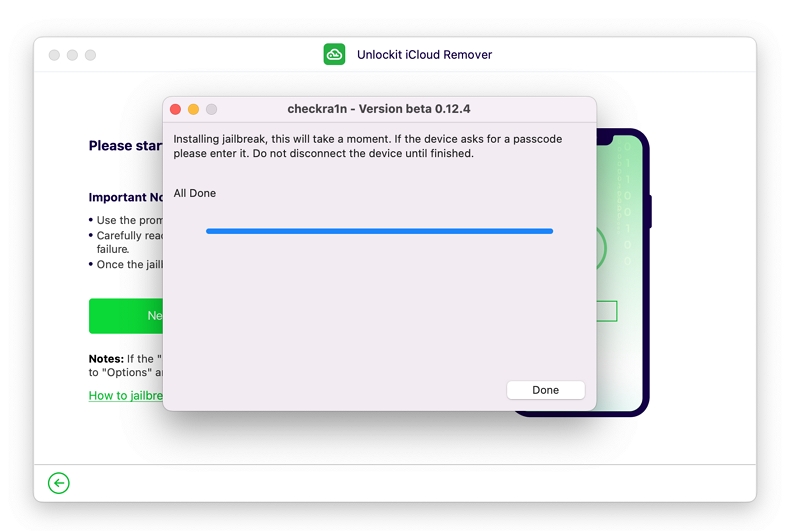
Step 6. After successful entry into DFU mode, Checkra1n will start to jailbreak your device. Once the jailbreak is finished, click on the "Done" button. Your iPhone is now jailbroken.
Now close Checkra1n and click on the "Next" button on Unlockit iCloud remover to start removing the Activation lock.
Should you encounter difficulties jailbreaking your iOS device, consider these troubleshooting steps:
If the latest version of Checkra1n fails to jailbreak your device, consider using an alternative version. Follow these steps:
If the issue persists, kindly follow the steps outlined below:
In the event of encountering an error code while attempting to jailbreak your device, here's the troubleshooting steps for each error code:
Error Code: -18:
If you encounter the message "bootstrap upload failed (Error code 18)", simply close Unlockit and initiate the jailbreak process once again.
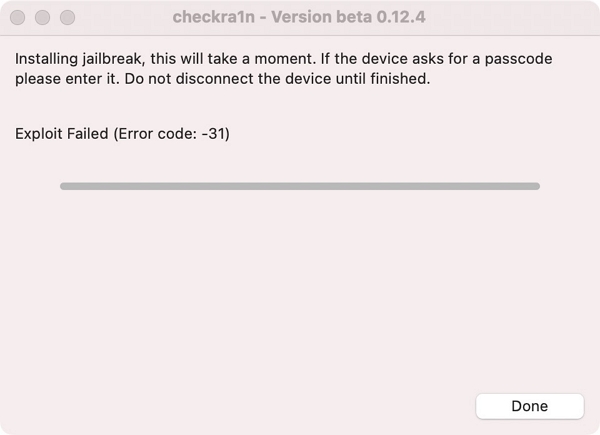
Error Code: -31:
For error Code-31, uninstall and reinstall the iOS on your device using TinyFix, then attempt to jailbreak the device once more.
Error Code: -20:
If Checkra1n shows Error code-20, navigate back to its main interface, select "Options > Safe Mode", and retry the jailbreak.