Apple has always been big on security, and they have created robust protection while still offering convenience to its users.
An example is a function such as a verification code sent to the mobile number you used to create an Apple ID.
If you've forgotten the Apple ID password yourself and want to reset the password, but in the meanwhile, you can't get access to the trusted phone number you set, then you are definitely unable to take any actions of your Apple ID.
However, there are several ways to unlock your Apple ID without the trusted phone number and get yourself out of this situation.
A couple of these will be discussed proceeding this article. So, if you want to know more, continue reading.
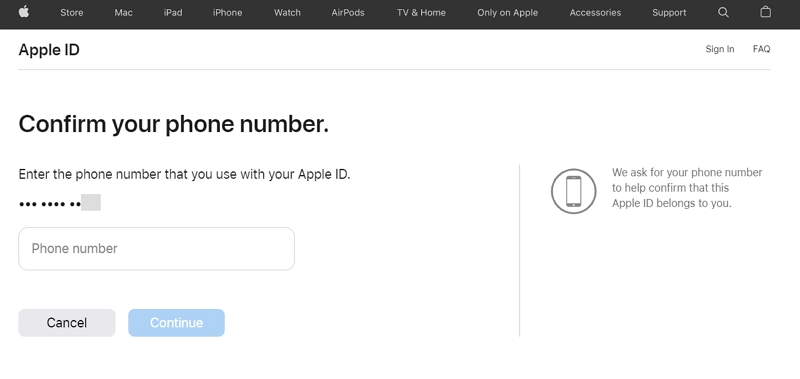
We discovered that a large number of Apple users have their Apple IDs locked. To unlock the Apple ID, they must enter a trusted phone number and get the verification code from the trusted phone in order to reset the password.
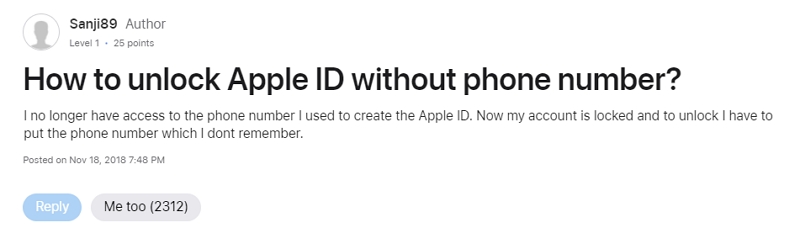
Because Apple asks for the phone number to help confirm that this Apple ID belongs to the user. However, they either no longer have access to the phone number they used to create the Apple ID or they are unable to recall the trusted phone number they set.
As a result, they get stuck on the step and unable to get the verification code from the phone number or input the correct phone number to unlock the Apple ID.
In this situation, people may look for a way to unlock their Apple ID without using their phone number, which we will discuss further below.
When you lock yourself out of your Apple ID without getting access to the trusted phone number and need help figuring out what to do, the first thing you should do is contact Apple Support.
They have different hotlines designated for each country. This should help you hastily as they will guide you through this situation.
To do so, follow the steps below:
Now your device has been unlocked using the Apple Support app. If your iOS device has iOS 9 to 12, you won't be able to download the Apple Support app. Hence, you should instead use the older Find My iPhone app.
If you want to do it on your own, we listed below other workaround methods that will help you unlock the Apple ID without the trusted phone number.
It's unavoidable for humans to no longer have access to important things such as their phone numbers. In such cases, it is fortunate that third-party Apple ID unlockers such as Unlockit iPhone were built specifically for this.
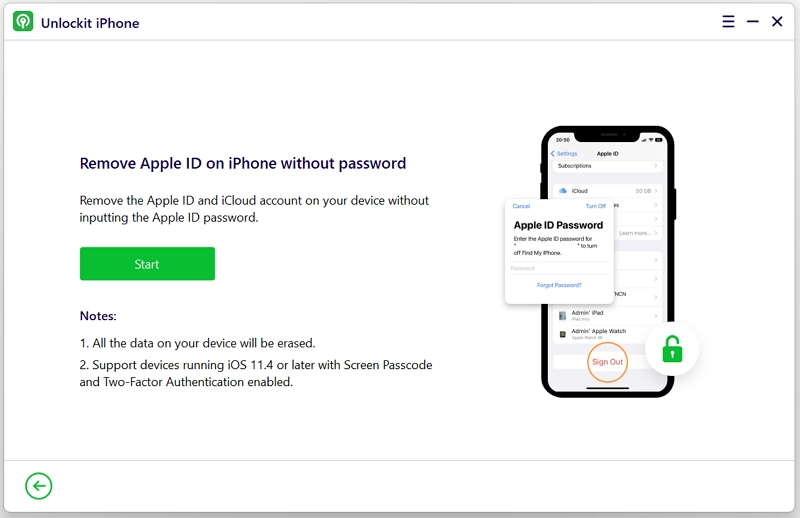
Unlockit iPhone is an all-in-one iOS unlocking application. It can remove the Apple ID on your device, when you can't remember the Apple ID password and don't have access to the phone number you used to create your Apple ID.
It is one of the most used third-party tools by thousands of users, which will help solve all your iOS lock issues without any experts' help.
Here is how you unlock your phone using Unlockit iPhone:
Step 1. Download Unlockit iPhone and install it on your Windows or Mac PC.
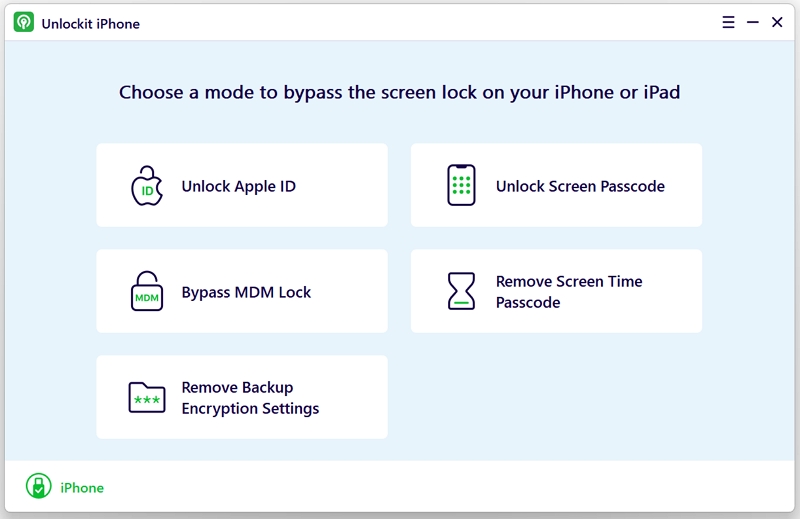
Step 2. Open the program and choose Unlock Apple ID from the home screen.
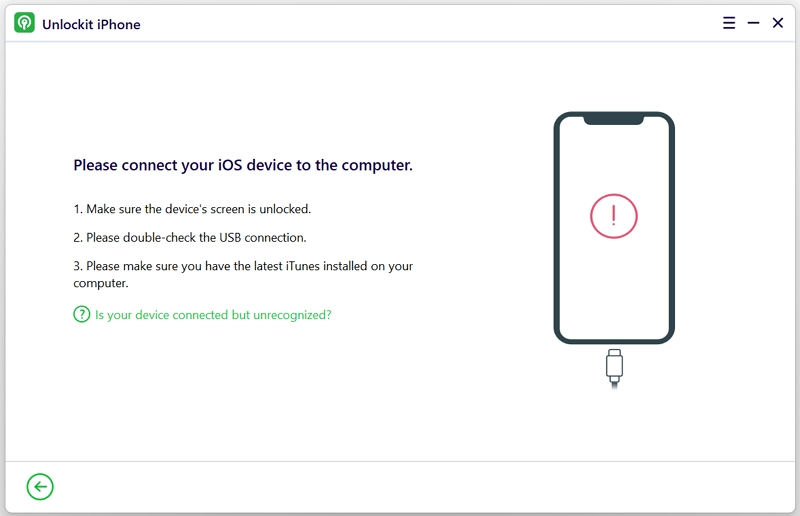
Step 3. Connect your iOS device to your computer via a USB cable.
Step 4. On the landing page, select the Start option to unlock your device.
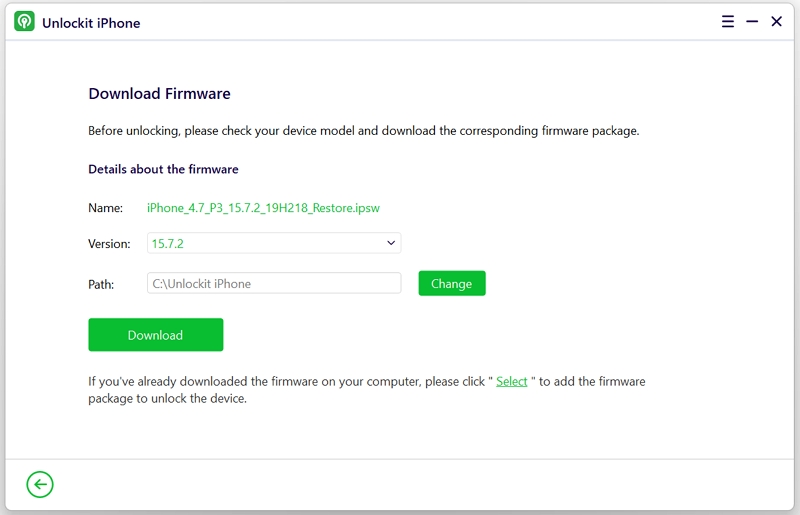
Step 5. Next, Unlockit iPhone will ask you to download an additional firmware package to your PC. Click Download to proceed.
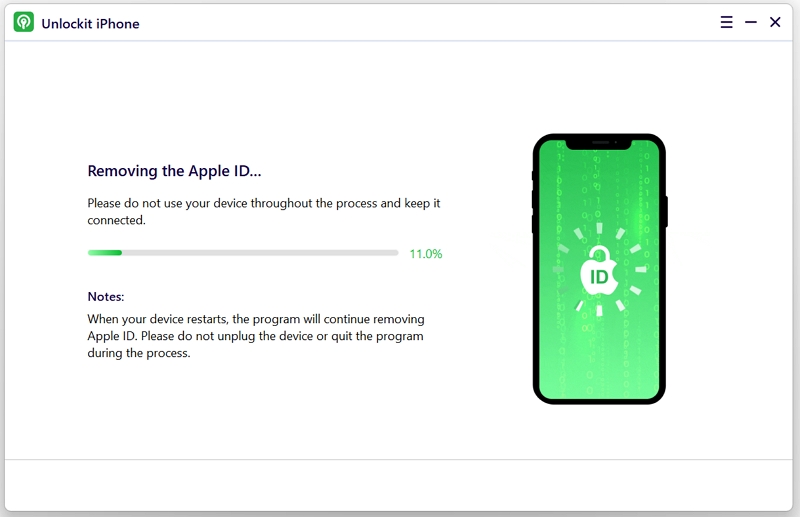
Step 6. When the unlocking process is done, your iOS device will automatically restart on its own. If it does not, you can restart it manually.
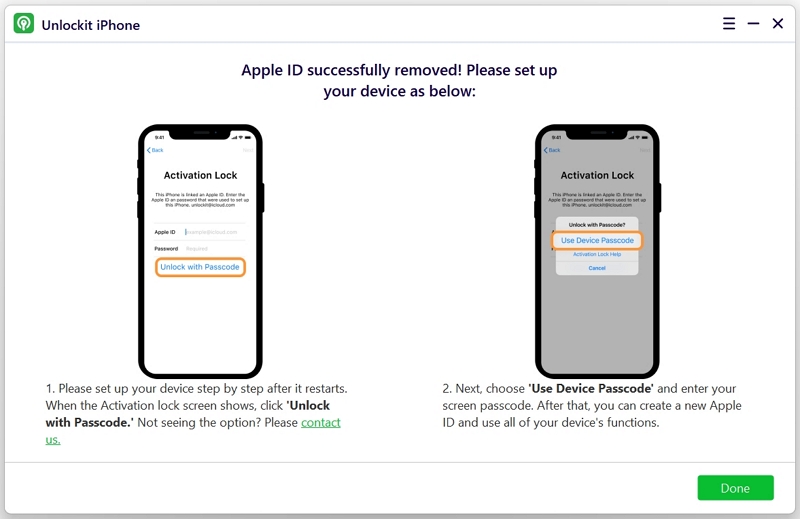
Now, click Unlock with Passcode > Use Device Passcode as soon as it prompts on your iOS device. And finally, go through the setup and sign in with your Apple ID.
Now your device has been fully unlocked with minimal steps using Unlockit iPhone.
If your two-factor authentication is enabled, you can only access your device with the use of other devices your trust. This paired device could be an iPhone, iPad, or iPod touch with iOS 9 or later, and Mac.
To allow a device to be paired for two-factor authentication, you need to sign in on that new device and use the password and six-digit verification code sent to your other device. Doing so would confirm that you want to pair the new device for the two-factor authentication.
A verification code will not be needed every time you use the device. Only when you sign out, erase the device, or change your password will you be required to use it again. With two-factor authentication enabled, you can reset your iCloud or Apple ID password using the trusted device.
Here's how you can unlock your device if you have two-factor authentication enabled:
iPhone or iPad
Mac
Now you can use this new Apple ID password on all your devices.
If you still have access to the phone number associated with your account, it makes unlocking your Apple ID very straightforward.
Just follow the steps below to unlock your Apple ID with the phone number:
Now your Apple ID has been unlocked.
It's safe to say that you should always safeguard the phone number you used to create your Apple ID. It is fortunate that there are several methods you can use to recover your device as mentioned above.
With all that being said, if you're one for convenience, the method of unlocking by using Unlockit iPhone is definitely the right road for you. They offer the simplest solution with the slightest intervention.


Mako is a technical writer with a passion for all things tech. Whether you're wondering about how to fix your iPhone or Android device or trying to get something to work in your settings, Mako is your go-to for professional help. He loves writing, testing solutions, and most of all, making sure his research is factually accurate.