This guide will teach you how to use Unlockit iPhone, our iOS screen unlocking software.
Specifically, we'll show you how to use Unlockit iPhone to unlock Apple ID, bypass MDM lock, unlock screen passcode, remove Screen Time passcode, and iTunes backup encryption.
Before we begin, make sure to download the latest version of Unlockit iPhone onto your computer.
To enjoy all the benefits of Unlockit, you'll need to upgrade to the pro version. Check out the pricing plans here.
If you're struggling with the Remote Management login screen on your iPhone or iPad, Unlockit iPhone can help you bypass the MDM lock screen without needing the password.
Follow our quick guide or watch our video to learn how.
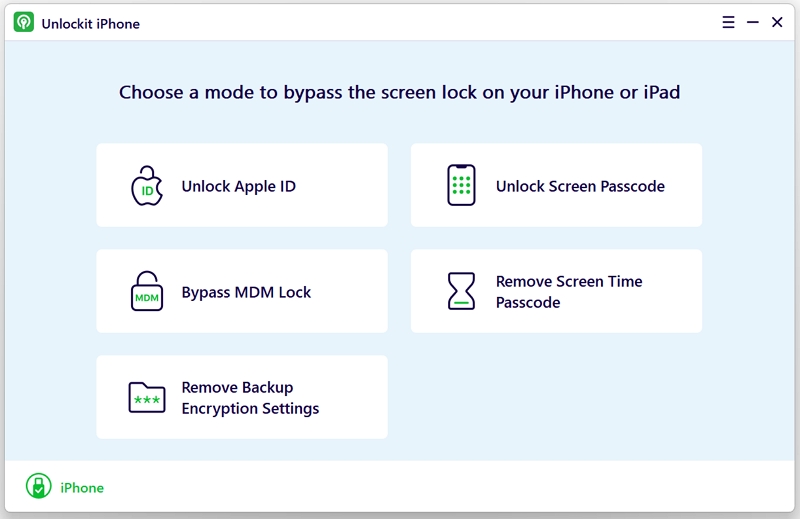
Launch Unlockit on your computer and select Bypass MDM Lock mode.
Then, connect your device to your computer via a USB cable.
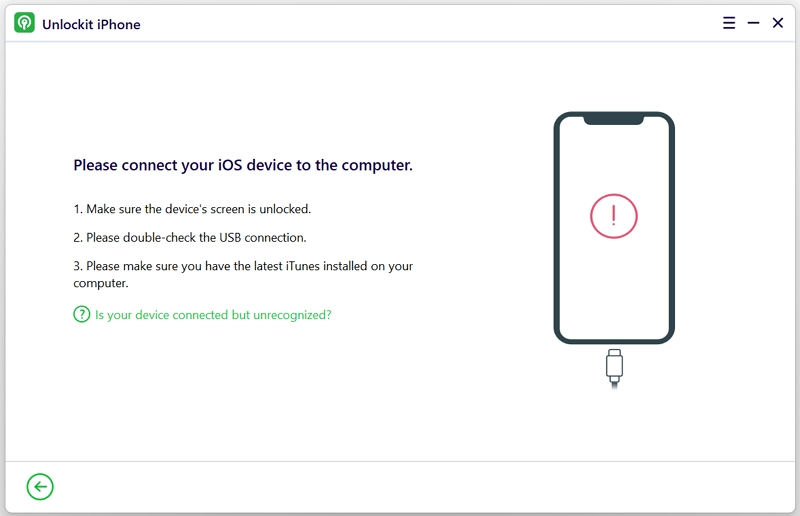
If Unlockit is unable to detect your device, you can try these troubleshooting steps to fix the issue:
If the issue persists, contact our Support Team for further assistance.
First, make sure your iOS device is on the Remote Management screen before starting the MDM bypass process.
Once you're there, click Start, and Unlockit will begin bypassing the MDM lock.

To remove the MDM lock, you'll need to turn off Find My iPhone. If you've enabled Find My iPhone, follow the on-screen instructions to turn it off.

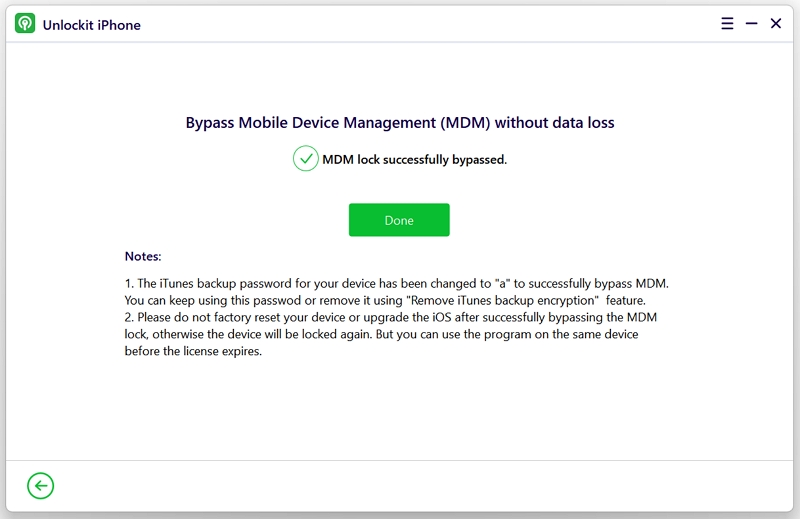
Once the removal is complete, the MDM lock on your device should be bypassed successfully.
Notes: When setting up your device's "Apps & Data," remember to select "Don't Transfer Apps & Data." and the iTunes backup password for your device has been changed to "a" to successfully bypass MDM. You can continue using this password or remove it using the "Remove iTunes Backup Encryption" feature.
Here are the simple steps to unlock the screen passcode on your iPhone, iPad, or iPod touch using Unlockit iPhone.
Don't have Unlockit iPhone yet? Click the download button to install it now.
You can also watch the video below to learn how to use Unlockit iPhone to unlock the screen lock on your device.
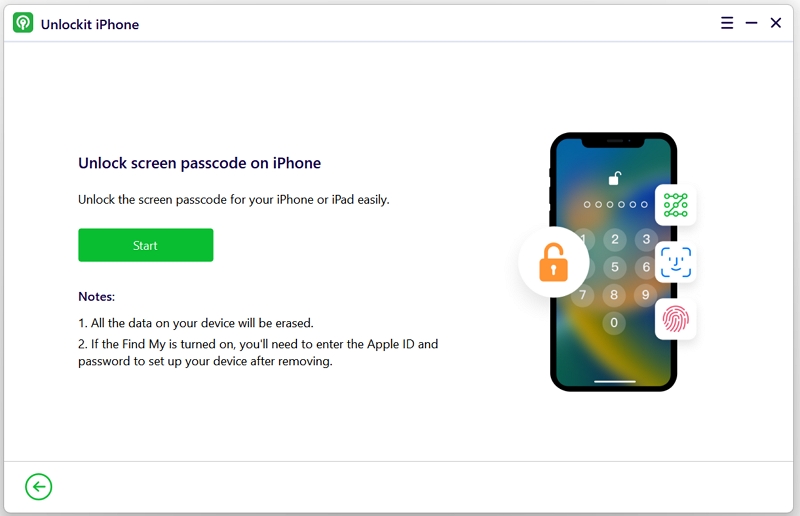
First, select "Unlock Screen Passcode" on the main interface.
Then, connect your device to the computer using a USB cable and click the "Start" button on the next screen to proceed.
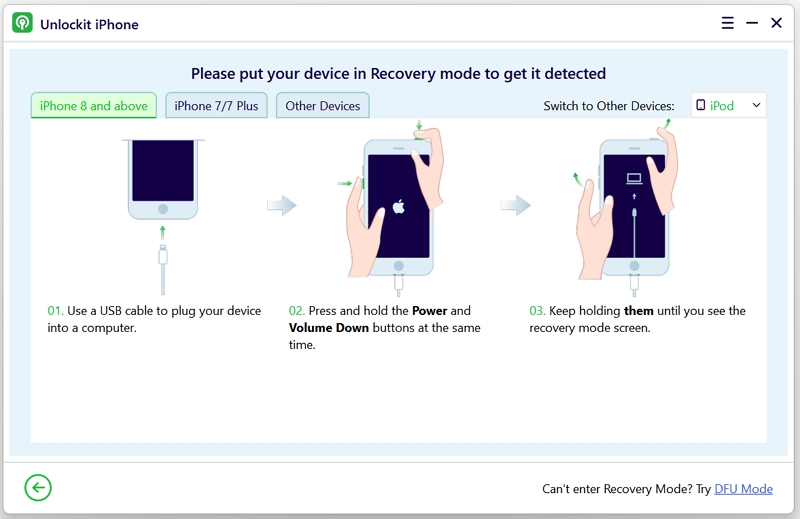
To make your device recognizable by the computer, Unlockit iPhone will automatically set your device into Recovery mode when you click the "Start" button.
If it fails to put your device into Recovery Mode, then, try putting your device into Recovery Mode or DFU Mode manually. Follow the on-screen instructions to do this.
Once your device enters Recovery Mode or DFU Mode successfully, the program will recognize it and automatically guide you to the next step.
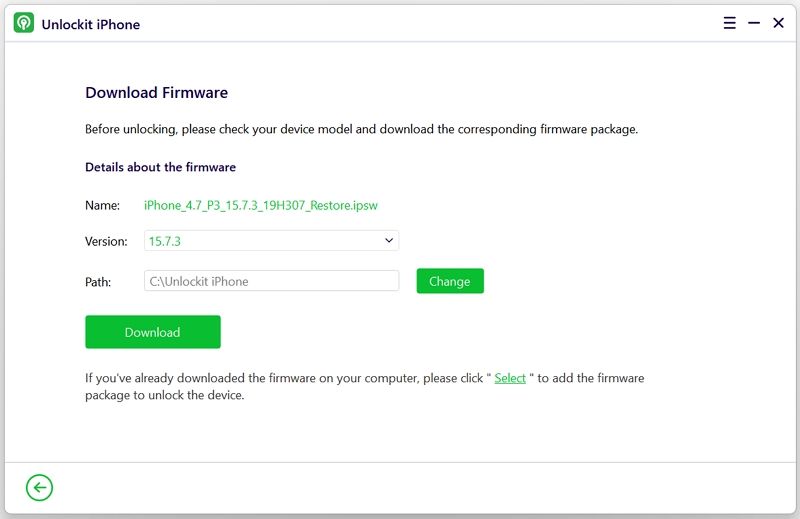
Next, you need to download the latest firmware package for your device. To do so, click the Download button and proceed.
If you have already downloaded the firmware, simply click Select to import it into the program.
Since the firmware package is a large file, the download process may take some time. Make sure you have a stable internet connection to speed up the process.
Once the firmware is downloaded, click Remove to start removing your iPhone's screen passcode.

This process may take several minutes, so make sure to keep your device connected to your computer throughout the process.
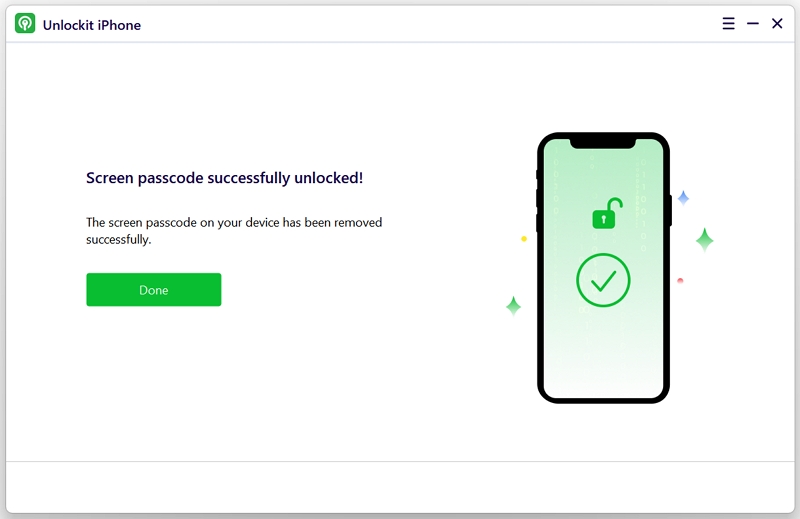
After successfully removing the passcode, you can set up a new passcode, Touch ID or Face ID on your iPhone.
Unlockit can also help if you've forgotten your iPhone or iPad's Screen Time passcode.
It allows you to remove the Screen Time passcode without losing any data.
At the main interface, select Remove Screen Time Passcode.
Connect your device to your computer using a USB cable. Make sure that your device is recognized by Unlockit.
To remove your screen time passcode, you'll need to turn off Find My iPhone. Simply follow the on-screen instructions to disable it if you've previously enabled it.
After turning off Find My iPhone, click the Start button.

The program will begin immediately removing your device's screen time passcode. Simply wait for it to finish.
Once the screen time passcode has been successfully removed, your device will restart.
During device setup, choose "Don't Transfer Apps & Data" to avoid any data loss. Also, select "Set Up Laterin Settings while setting up Screen Time.
And that's it! You have now successfully removed the screen time passcode without any data loss.

Are you stuck on the Apple ID password page when trying to sign out because you forgot your login details? Don't worry, you can use Unlockit iPhone to unlock or remove your Apple ID without a password.
Simply follow the instructions below to remove Apple ID without a password using Unlockit iPhone.
Note: The Apple ID unlocking feature supports only devices running iOS 11.4 or later with a screen passcode and Two-Factor Authentication enabled.
Click the Download button on your computer to install Unlockit iPhone. Wait for the process to finish.
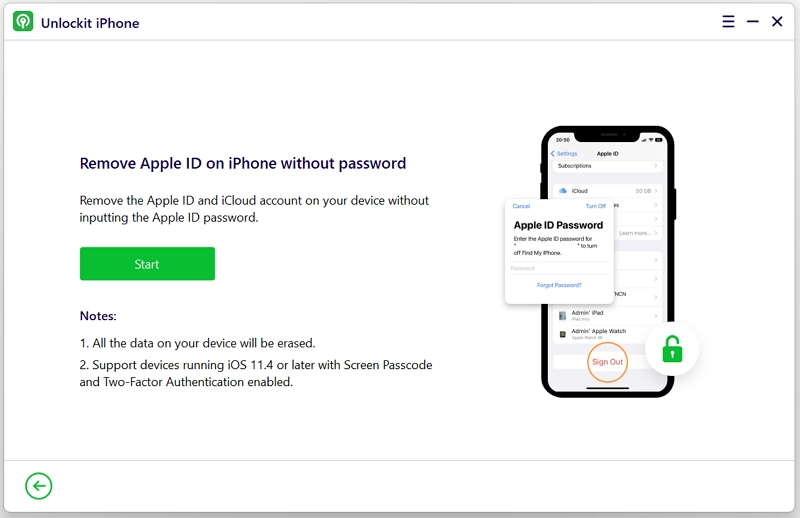
Once done, launch Unlockit iPhone and select the Unlock Apple ID option.
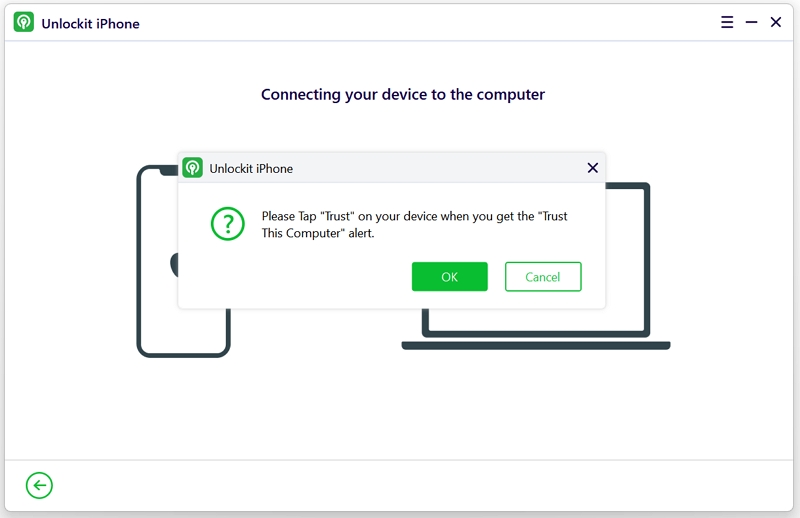
Next, connect your iOS device to the computer and click on Trust from your iPhone/iPad screen.
Once your device is connected, click the Start button on Unlockit iPhone to begin removing Apple ID and iCloud account on your iOS device.
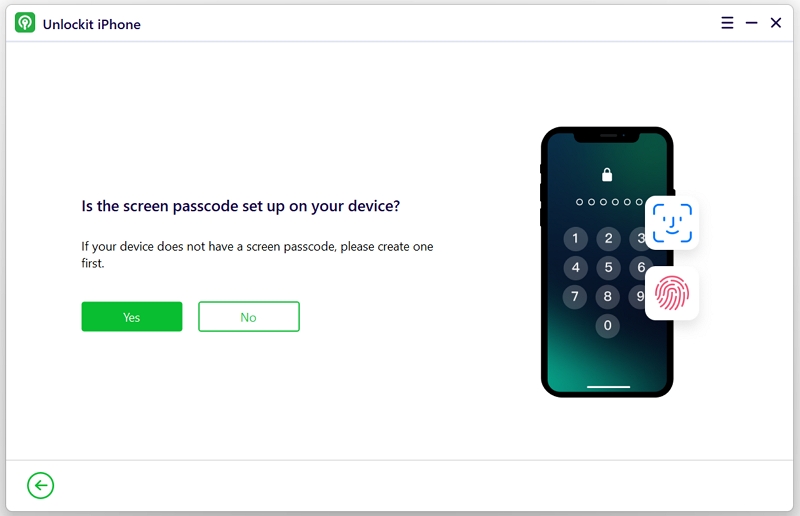
In this phase, you need to make sure that the screen passcode on your device is enabled.
You should also confirm that two-factor authentication is enabled on your device.
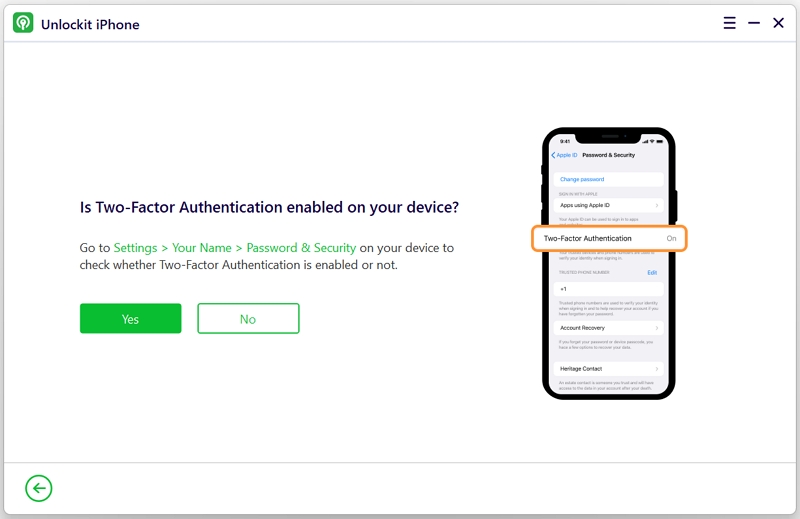
Not sure if two-factor authentication is enabled? Follow the steps below to check:
Once confirmed, simply tap the "Yes" button on Unlockit iPhone to proceed.
After confirming, you need to download the firmware. UnlockIt iPhone will automatically detect your device model. Select the appropriate firmware version and click "Download". Wait for the process to finish.
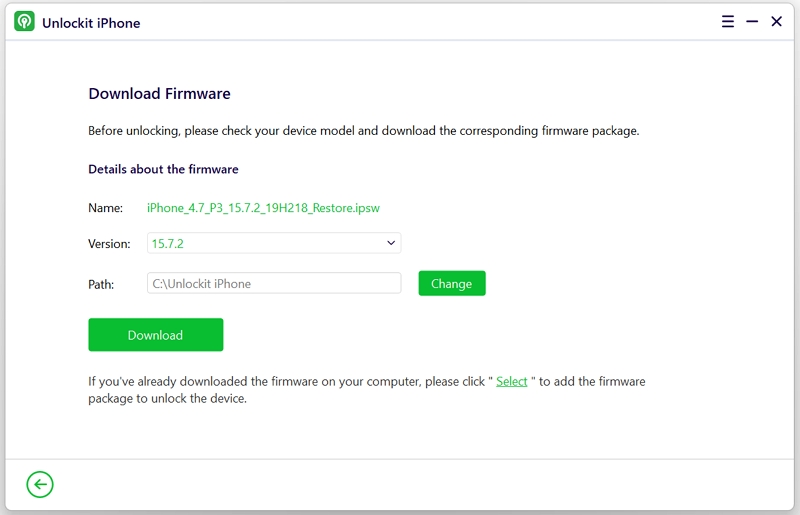
Once the firmware is downloaded, click on Remove to proceed.
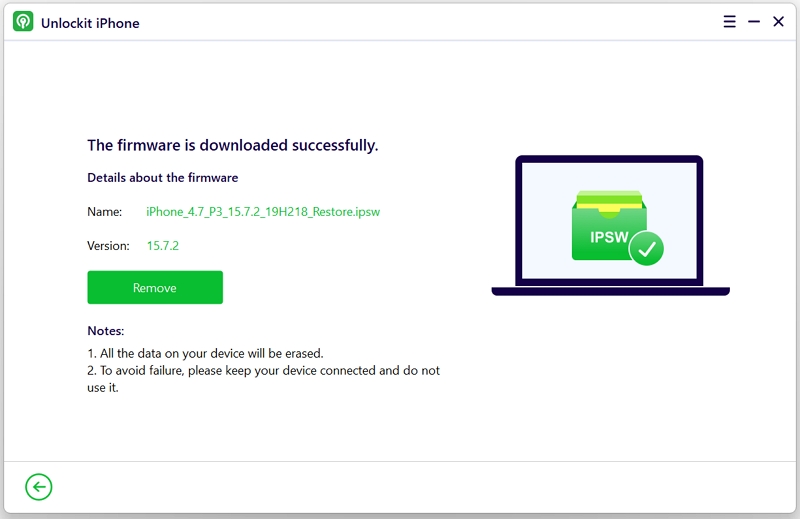
The process will take a few minutes. During this time, make sure that your device stays connected to your computer.
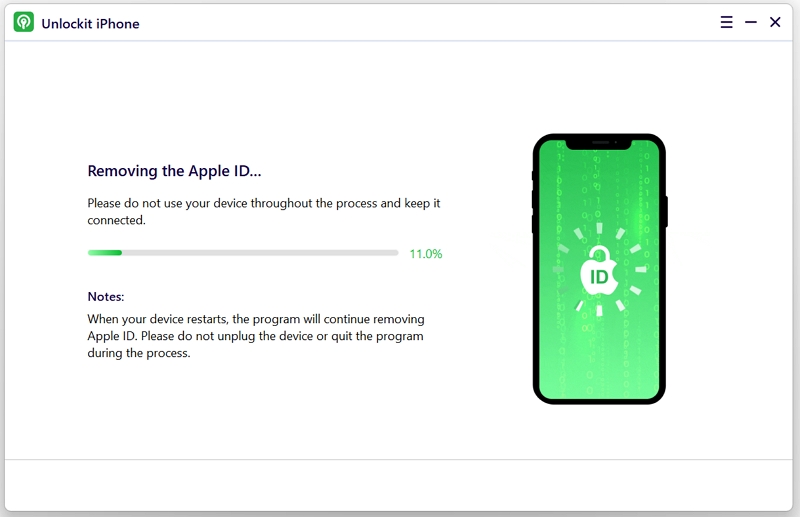
Once the process is complete, your device will restart, and the Apple ID should already be removed. If your iPhone still doesn't reboot, please wait for a while.
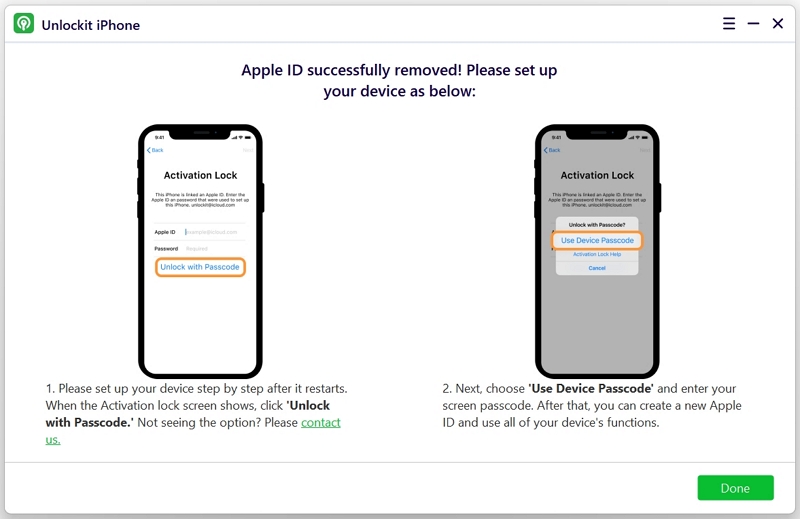
Now, you need to follow the guide on the interface to set up your device.
After rebooting, select "Unlock with Passcode" on the display screen. Next, choose "Use Device Passcode" and enter the screen passcode.
After completing this process, you'll be able to create a new Apple ID and enjoy all of your device's features.
If you've forgotten your iTunes backup passcode and no longer want to encrypt iTunes backups, don't worry.
You can easily use Unlockit's "Remove iTunes Backup Encryption" mode to remove the encryption. Just follow the instructions below.
Launch Unlockit on your computer and choose the "Remove iTunes Backup Encryption" mode.
Next, connect your device to the computer, and Unlockit will automatically detect it.
To start the removal process, click on "Start".

The removal of iTunes backup encryption will begin automatically. Please be prepared to wait a few minutes for this process to complete.

Once the iTunes Backup Encryption is successfully removed, you should see the interface shown below.