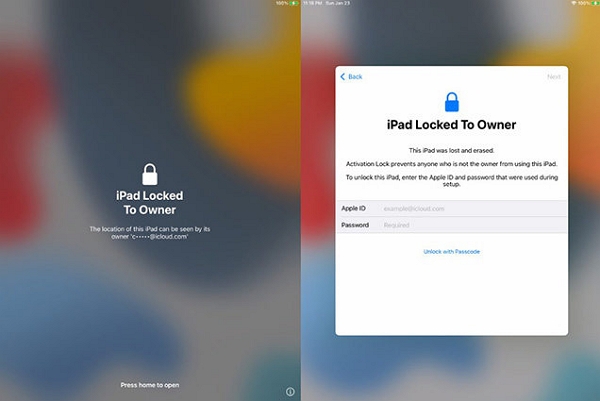
"I am seeing the "iPad Locked To Owner" notification on my device! I recently purchased a used iPad, and once I got home to use it, I was greeted with this error. Can I bypass this lock, and if yes, how!"
Understandably, you might feel frustrated if you buy a second-hand iPad, and find that you can't use it due to the iPad Locked to Owner screen. If you encounter the error on your iPad, follow this guide to learn quick methods for bypassing it.
iPad locked to owner is a security feature introduced in iOS 15 and above. When you turn on Find My on your iPad, the iPad locked to owner is automatically enabled as an additional layer of protection for your data in case your iOS device gets lost or stolen.
This feature ensures that even if your iPhone or iPad is erased by someone else, the device is inaccessible unless the iCloud credentials is correctly provided on the iPad locked to owner screen.
This is all good and dandy, but it also prevents the second-hand user from moving forward from the lock screen. Which, in turn, makes the device completely useless for the new owner.
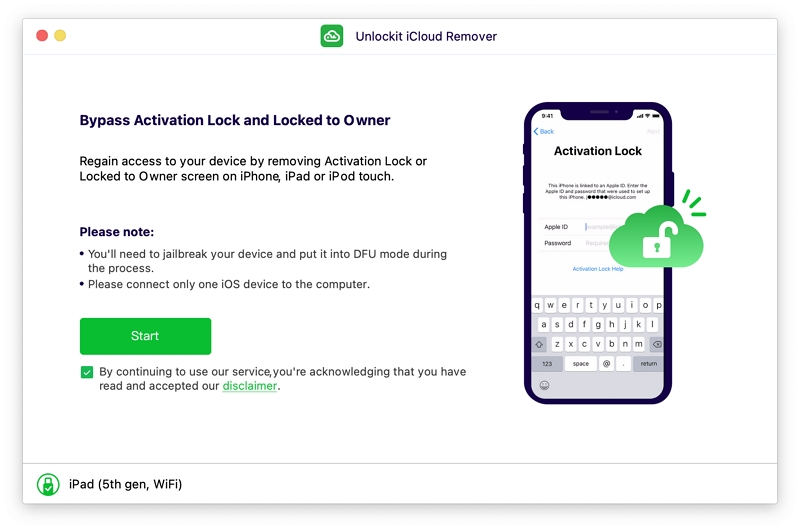
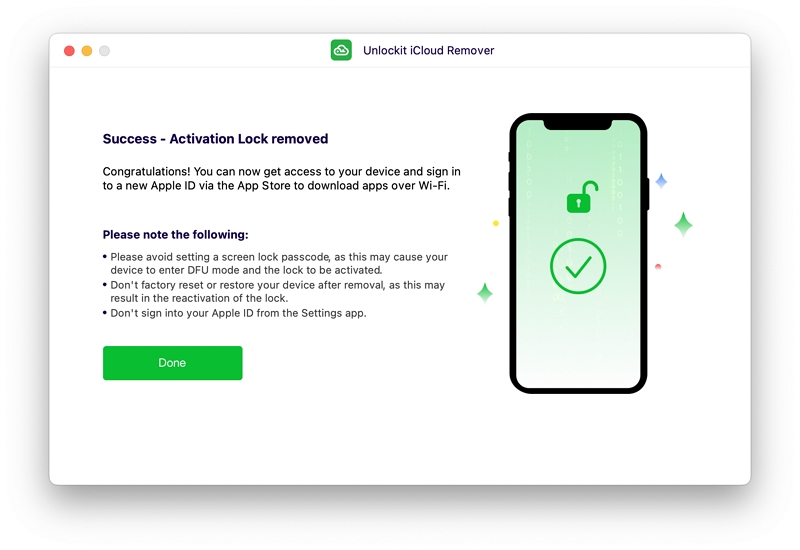
If you do not want to involve yourself in the complexities of bypassing the Activation Lock on your iPad, then we suggest using the Unlockit iCloud Remover.
It is an intuitive, extremely reliable, and secure software. There are no prerequisites to navigating the tool, just connect the iPad, wait for 30 minutes and let it do the rest on your own computer. However, if you ever run into an issue, customer support is available 24/7, ready to resolve it.
Moreover, Unlockit works well with iPhone 5s through iPhone X, lots of iPad devices, the iPod touch 6, and the iPod touch 7 that are running iOS 12.0-16.
Unlockit iCloud Remover can remove iCloud lock on these iPad models:
Just download and install the software on your Mac computer, and follow the steps to learn how to bypass the "iPad Locked To Owner" error:
Launch the software, and tap the Start button on the Home Screen. Then use a USB cable to connect the iPad to your Windows or Mac computer.
Once the iPad is connected, follow the onscreen instructions to put your device in DFU mode and then jailbreak the device.
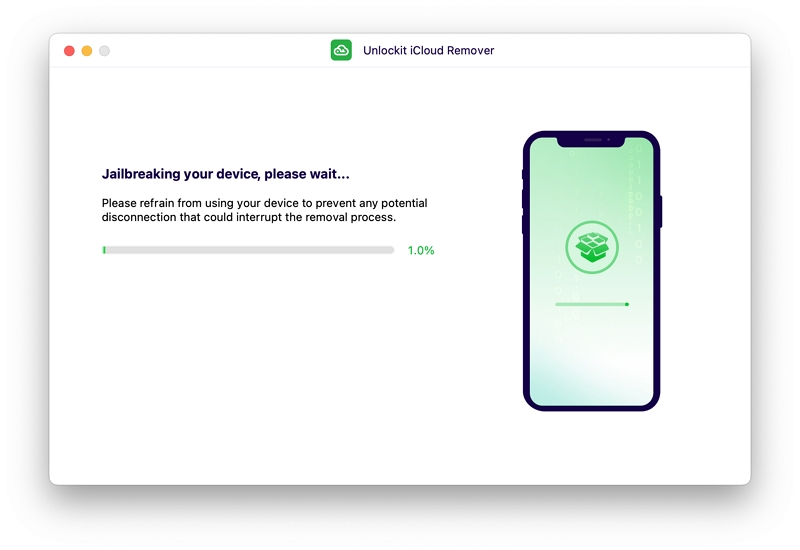
Once Unlockit iCloud Remover jailbreaks the iPad, click Start to Remove to remove the iCloud Activation Lock.
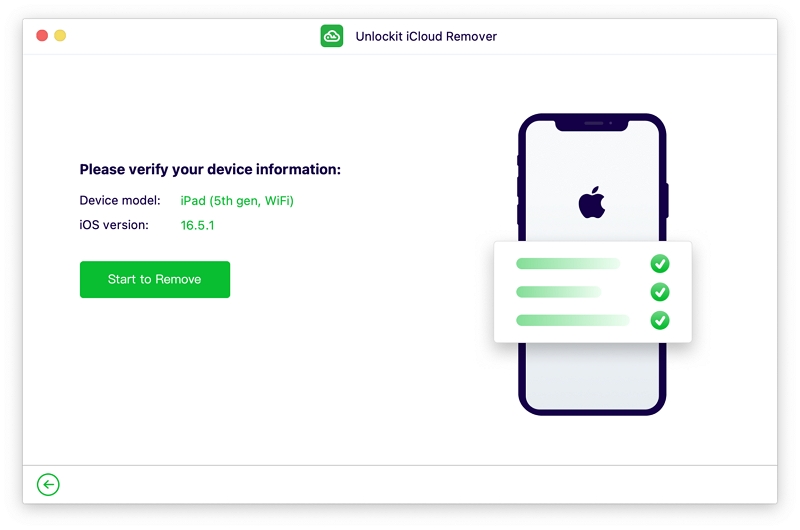
The process will only take a few minutes to complete, and you'll be notified upon completion.
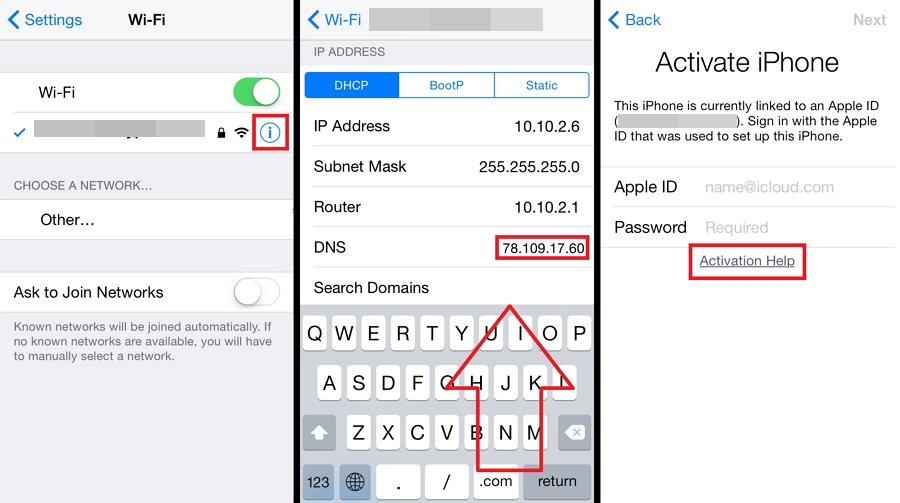
Another solution is removing the Activation Lock on your iPad by configuring the DNS settings.
The Domain Name System alters the specific URL names(easy-to-read) into IP addresses to browse the internet.
So, how does it work?
Well, once you add your DNS server to the WiFi settings, the activation route of the iPad is redirected to the DNS Bypass servers instead of the conventional Apple servers.
It sounds a bit complicated, but follow the steps below to learn more about applying it:
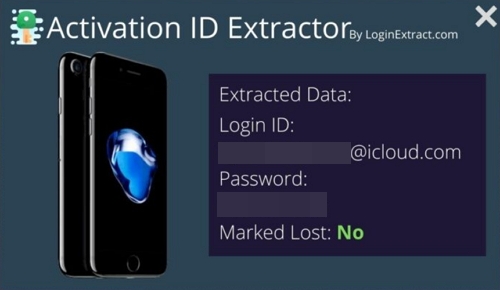
Activation ID Extractor is a free program that claims to remove iCloud Activation Lock from iPhone and iPad. It is a desktop solution, meaning that you will need to install it on your computer to use it. It is available for both Mac and Windows users and here's how to use it:
Before getting started, you will need to install it on your computer. Once it is installed, follow these steps:
Step 1: Open Activation ID Extractor and the program will immediately begin searching for a new update. Once the process is complete, connect the iPhone to the computer.
Step 2: The program will detect the connected device and display information about the device on the screen.
Step 3: Ensure that the information on the screen matches your device and then click "Extract Data." The program will begin extracting the log-in information you need to unlock the device. Keep the device connected until the extraction is complete.
Step 4: You should see the login information you need to unlock the device on the screen. Enter the details on the iCloud Activation lock screen and the device will be unlocked.
While it does seem effective, Activation ID Extractor seems to only work on older devices. There is also no download link that we could find that allowed us to install the program.
Most of the links either required us to complete a survey or only opened a popup ad for an unrelated program. The only links available are not from any official website and may prove to be harmful to your computer or device.
If you know the original owner's screen passcode, then you can access the iPad without having to bypass the Activation Lock via the iCloud account information.
Step 1. Just tap the Use Device Passcode option on the screen.
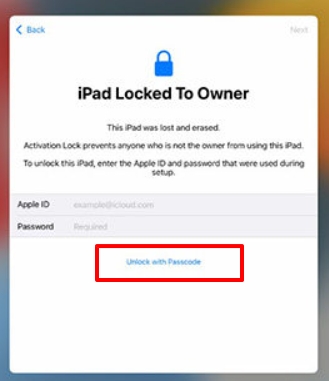
Step 2. Choose the Unlock with Passcode from the pop-up and enter the device's passcode to get the job done.

This solution requires you to know the original iPad owner's Apple ID and password to remove their iCloud account from the device.
Check out the steps below:
Step 1. Go to the iCloud website and Enter the original owner's Apple ID details.
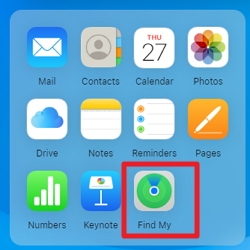
Step 2. Click the Find My icon.
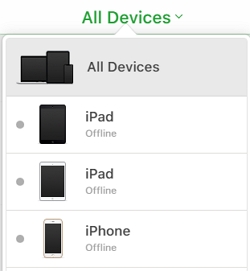
Step 3. Tap the All Devices option.

Step 4. Select the locked iPad from the devices' list.
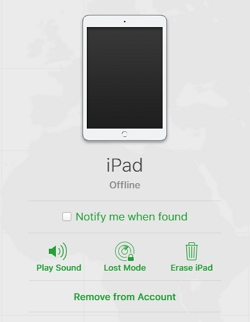
Step 5. Then click Erase iPad, and enter the iCloud password again. Tap Erase to confirm the action.
Step 6. After that, select Remove From Account to finish the job.
Now, please pick up your iPad, restart it, and set it up using your Apple ID information.
If you are looking for a free way of getting rid of the iPad to owner screen, your best bet is to count on Apple Support but be aware that most of the time, it may not work because, according to their database, the first owner is still the actual owner of the device.
This should be used as a last resort and requires meticulous research to ensure you get your device working. To increase your chances of getting Apple Support to remove the lock, here are a few things you need to do:
However, do remember there are two sides to every situation. Just like every other solution, contacting Apple Support has its own pros and cons as well.
The passcode lock lets you enter your smartphone but won't turn off the Find My iPad Activation Lock. To do that, you must enter the correct Apple ID and password to deactivate the iCloud account.
If you don't have your Apple ID password, disabling Find My can be tricky because these credentials are needed. If you're using a secondhand device, consider contacting the previous owner for assistance; they should have the necessary login details.
Unfortunately, you can't use iTunes to bypass the iPad to owner screen. While you can use iTunes to unlock a disabled device, the Activation Lock isn't something iTunes can handle.
Navigating the Apple device activation lock can be quite intricate. Removing the Apple activation lock without specialized tools for free is nearly impossible. Although you might come across online services that promise free bypasses, it's important to be cautious – many of these can be deceptive.
Consider using a third-party tool like the Unlockit for a secure and budget-friendly solution. This tool safely bypasses the iCloud activation lock without needing an Apple ID or password. It's the most reliable approach available.
The first step after discovering that you have purchased an iCloud Locked iPad is not to panic. The important thing is knowing the correct solutions to bypass the issue quickly.
Methods like DNS Bypass and iCloud require you to check a few boxes before you can remove the Activation Lock. If you wish to avoid any inconvenience, try Unlockit iCloud Remover, which is a reliable and easy-to use software offering 100% outcome in no time.


Mako is a technical writer with a passion for all things tech. Whether you're wondering about how to fix your iPhone or Android device or trying to get something to work in your settings, Mako is your go-to for professional help. He loves writing, testing solutions, and most of all, making sure his research is factually accurate.