Are you facing the iPhone locked to owner issue and looking for a solution to bypass the iPhone locked to owner screen without computer?
Well, we will walk you through how to get rid of the iPhone locked to owner screen without or with using the computer.
Let's begin!
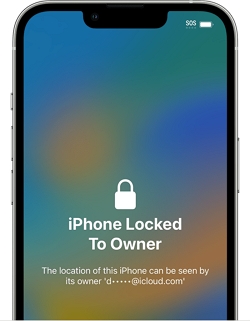
You might have heard a lot about iPhone Activation Lock but must be wondering what is this new Locked To Owner feature. Well, in laymen's terms, the two are the same.
On devices running iOS/iPad OS 15 or later, it shows "This iPhone or iPad Is Locked To Owner". On devices running iOS/iPad OS 14.8 or lower, it shows "Activation Lock" screen.
When you see these screens, it means that the Activation Lock is triggered on your iPhone. This often happens if you bought a second-hand or used iPhone and erase or restore the device without asking the previous owner to remove their iCloud account before selling the iPhone.
It is a security measure placed by Apple to protect the owner's data and personal information if the device gets stolen or hacked by someone else. The iPhone becomes practically useless at that point unless you provide the correct Apple ID and password.
However, there are several reliable ways to let you bypass iPhone Locked to Owner without computer. Read on to know more details!
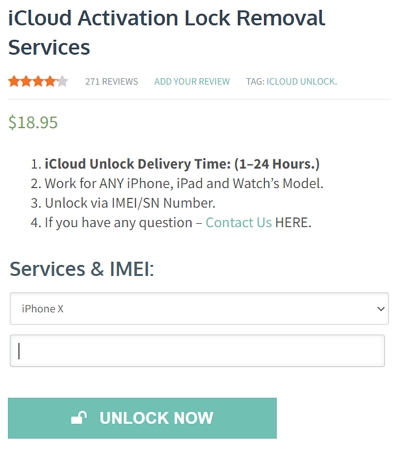
For people not looking to commit to the computer, there are online services available that claim to remove this activation lock via the IMEI number for a fee within 2 days.
However, before we show how to use the method, learn the risks of these kind of services first:
If you are someone who is still willing to take the risk, all you have to do is:
If you are tech-savvy and do not want to navigate third-party software to unlock the iPhone, try the DNS Bypass solution.
Before we show you how to use this method, keep the following in mind:
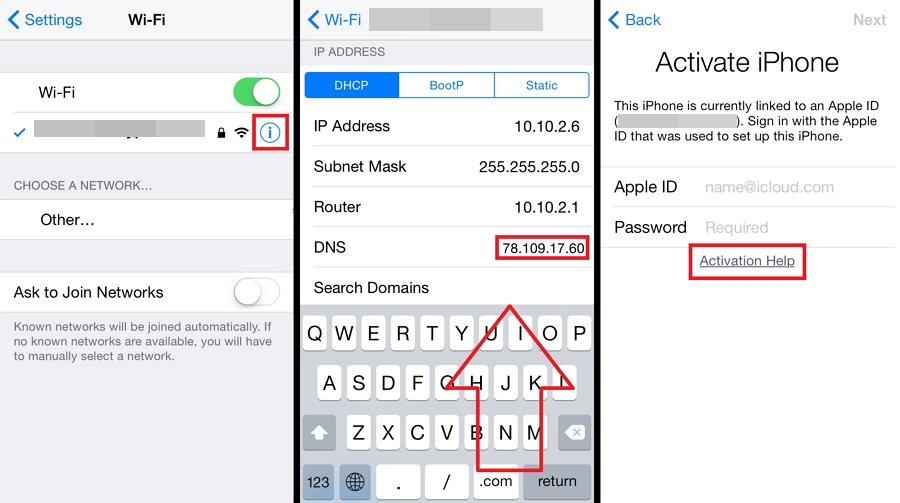
Here are the steps you can use to attempt the DNS solution:
Step 1. Enable your iPhone, and set it up by choosing your preferred language and country.
Step 2. Now, head over to Settings and select Wi-Fi.
Step 3. Tap "i" next to your preferred Wi-Fi network's name.
Step 4. Press Configure DNS and then tap Manual.
Step 5. Next, enter one of the following DNS Addresses based on your nearest location:
Step 6. Afterward, return to the Wi-Fi Settings screen before turning on the function.
Step 7. Choose your preferred network and enter the password.
Step 8. Press Back to get redirected to the iCloud Bypass page.
Step 9. Now, you can finally set up your iPhone!
This method is a bit complicated and time-consuming. So, if you are even the slightest bit confused about it, we recommend applying the Unlockit solution.
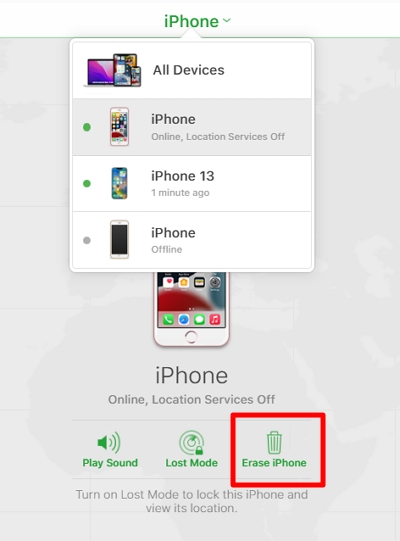
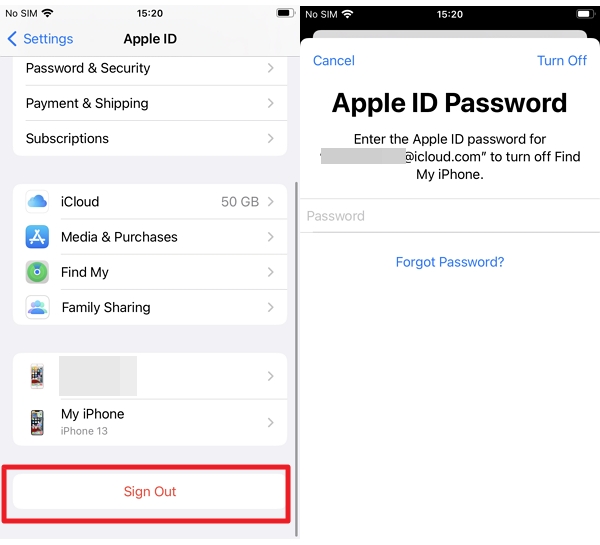
If you have finally gotten hold of the previous owner of your iPhone, you can get their assistance to bypass the iPhone lock quickly.
Ask for the previous owner's Apple ID and password to access icloud.com. Then, use the Erase feature from the Find My iPhone feature to remove iPhone locked to owner.
It is fast and easy, and you can learn it by following the steps below:
You can also ask the previous owner for the iPhone's screen passcode, so you can enter it from the Activation lock screen to unlock the iOS device.
The method is as follows:

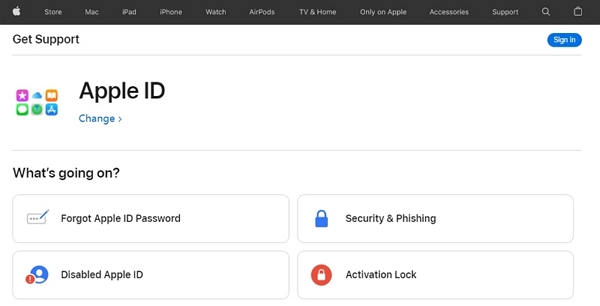
If, for any other reason, the above solutions do not reap the expected results, then we recommend contacting Apple Support to bypass the iCloud Activation Lock.
Although this method also has a low success rate as unlocking your device depends entirely on the support individual's discretion, it can never hurt to try.
Just make sure that you are prepared with all the necessary information and proof that states that you are the legal owner of this device and ensures that you have not employed any illegal means to get your hands on it!
Check out this step-by-step guide to learn how to apply the method:
In general, unless you can contact the previous owner or provide legal proof of ownership of the iPhone, all of the above methods for bypassing iPhone locked to owner come with obvious shortcomings.
If you are looking for the finest solution to help you bypass iPhone locked to owner effectively and quickly, we recommend Unlockit iCloud Remover, which is one of the few solutions that could help you get past Locked to Owner and gain access to your device even without the Apple ID and password.
It is easy to use, highly effective, and highly recommended by other users as the best solution in this situation.
What's more, it is compatible with various iPhone devices from iPhone 5S through iPhone X running iOS versions from iOS 12 to iOS 16.
Check out the following steps to learn how to remove the Locked to Owner error with Unlockit without contacting the previous owner:
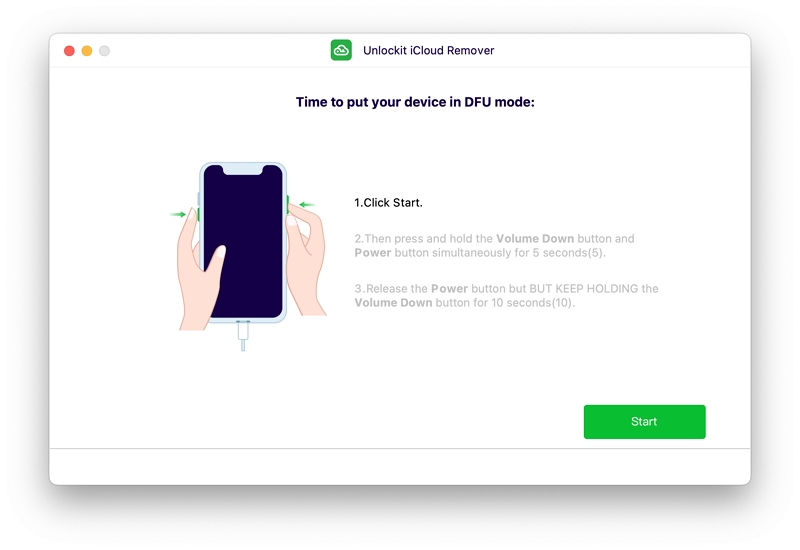
First, download, install and run Unlockit on your computer, connect your iOS device to the computer. and click Start.

Follow the instructions listed on Unlockit's interface to put your device into DFU Mode and then jailbreak your device.
After that, the software will begin jailbreaking and then removing the iCloud Lock. Do not unplug the iPhone during the process.
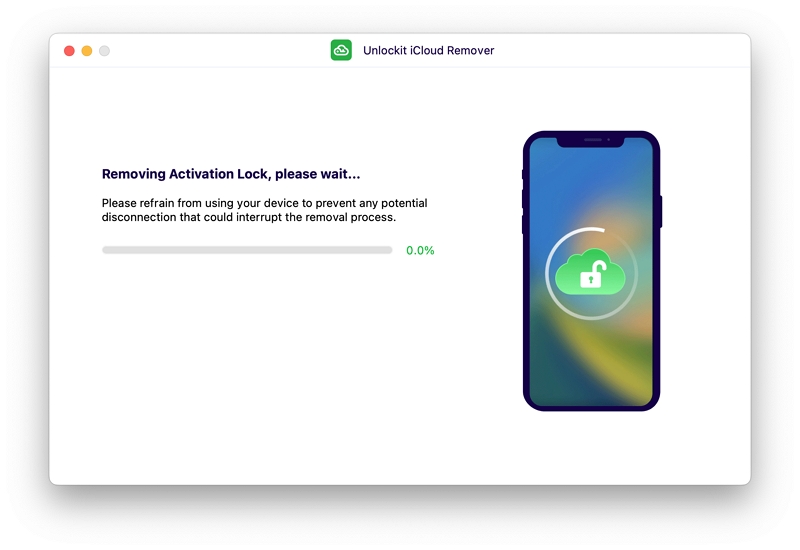
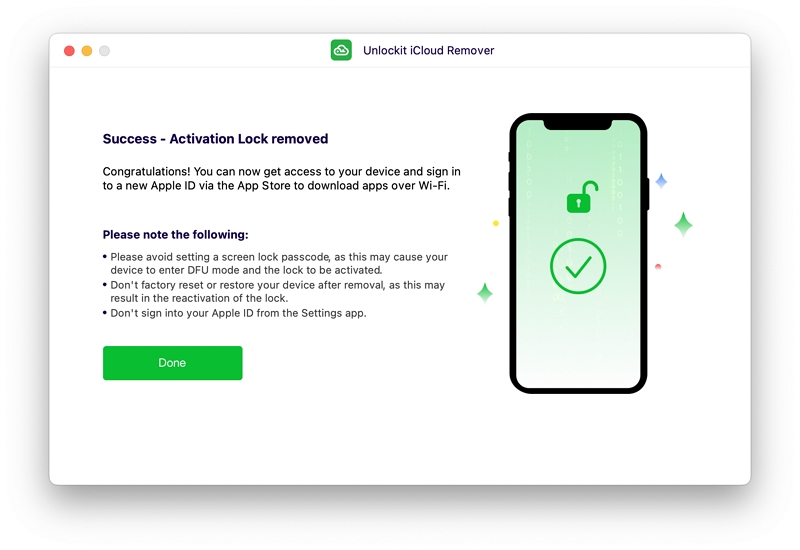
Once notified, your device will be unlocked. Now you can set it up as a new device!
Unlockit is completely secure and capable of unlocking the iPhone in mere minutes. Try it out now.
This iPhone locked to owner problem often occurs on second-hand devices. But if you are buying from a service like eBay, you will be protected by some form of buyer-protection policy. The problem is when buying the device in face-to-face interactions.
The following are useful tips to avoid buying a device you can't activate:
Check out the FAQs to learn valuable information on how to bypass the Locked to Owner screen:
Yes, you can also apply the solutions mentioned in our guide, such as the Unlockit program to bypass the iPad Locked to Owner issue.
Some users wonder if a factory reset will remove the Locked to the Owner screen in this situation. The answer is NO. The iCloud lock cannot be removed by simply factory resetting the device.
The process for removing the iPhone activation lock by using Unlockit iCloud remover takes approximately 30 minutes.
We understand how frustrating it can be when you get a second-hand iPhone and can't use it instantly because the previous owner forgot to remove their iCloud account.
However, after reading this article, we hope you know how to unlock the iPhone Locked to Owner issue.
The fastest and most efficient solution is Unlockit iCloud Remover, completing the task in mere minutes without any prerequisites.
Simply download the Unlockit software on your computer, connect the locked iOS device, and see the magic happens!


Mako is a technical writer with a passion for all things tech. Whether you're wondering about how to fix your iPhone or Android device or trying to get something to work in your settings, Mako is your go-to for professional help. He loves writing, testing solutions, and most of all, making sure his research is factually accurate.