 by Maggie Mueller
Updated On Jul 4, 2024
Published On Jan 3, 2024
Basic iPhone Tips Ideal for Newbies
by Maggie Mueller
Updated On Jul 4, 2024
Published On Jan 3, 2024
Basic iPhone Tips Ideal for Newbies
Discovering the cool Developer Mode on your iPhone sounds exciting, but what if it doesn't show up on your device? In this guide, we'll figure out why iPhone Developer Mode is not showing and share simple solutions. These tips will help you uncover this hidden feature so you can make the most of your iPhone's awesome capabilities.
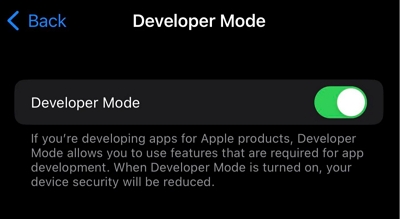
Developer Mode is a special setting introduced in Apple's iOS 16 and WatchOS 9 updates that enables developer workflows. According to Apple, it protects users from inadvertently installing potentially harmful software on their devices, reduces attack vectors exposed by developer-only functionality, and focuses on scenarios like performing a Build and Run in Xcode or installing an .ipa file with Apple Configurator.
iPhone Developer Mode doesn't appear on your iPhone by default. Apple has made Developer Mode an invisible, hidden setting, accessible only through special tools and for those who are meant to use it and are also using iOS 16 or later.
If Developer Mode is not showing on your device, the most likely reason is that you haven't enabled it successfully. Another reason could be that you are looking in the wrong place for Developer Mode on your device.
After enabling Developer Mode, you can find it from Settings > Privacy & Security on an iOS or visionOS device, and Settings > Privacy > Developer Mode on a watchOS device. If you've looked in the right place and Developer Mode isn't shown, follow the steps below to turn it on:
Enabling Developer Mode on your iPhone is crucial for those who wish to explore advanced functionalities and test applications. Before you begin the process, make sure you have the following prerequisites in place:
1. iPhone running iOS 16 or Above
Ensure that your iPhone is running iOS 16 or a later version. To check and update your iOS version, follow these steps:
2. Mac Device with macOS Ventura 13.3 or Later
Developer Mode requires a Mac for activation, and it should be running macOS Ventura 13.3 or a later version. Here's how to check and update your macOS:
3. Lightning Cable to Connect the iPhone to the Mac
And finally, you'll need a reliable lightning cable to establish a physical connection between your iPhone and Mac. Ensure that the cable is in good condition to prevent interruptions during activation.
Now that we have all that sorted out, Enabling Developer Mode on an iPhone through Xcode provides users with advanced options for app development and testing. Here's a comprehensive guide to help you navigate through the process:
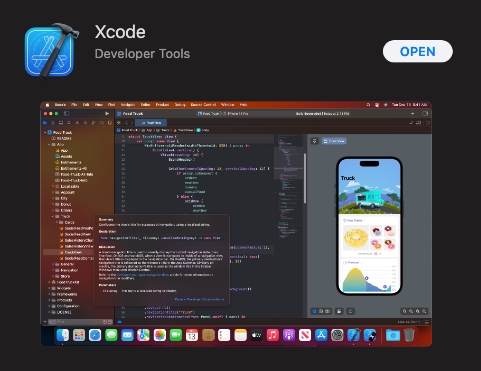
Step 1: Download and Install Xcode
Open the App Store on your macOS device. In the search bar, type "Xcode" and locate the official Xcode app.
Download and install the Xcode app. It's available for free. Launch the Xcode app after installation. Accept the terms and conditions presented during the first launch.
Enter your device password to proceed. Click on the "Install" button in the subsequent window to complete the installation process.
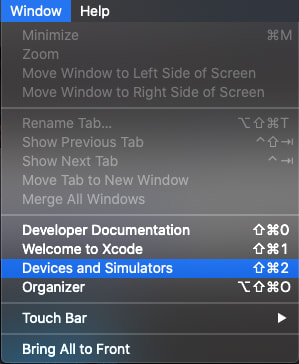
Step 2: Connect iPhone to Mac
Then, use a wired connection to connect your iPhone to your Mac. In Xcode, navigate to the menu bar and select Window -> Devices and Simulators.
If it's your first time connecting the iPhone to your Mac, a prompt will appear on your iPhone. Click on "Trust this Computer" to establish a connection.
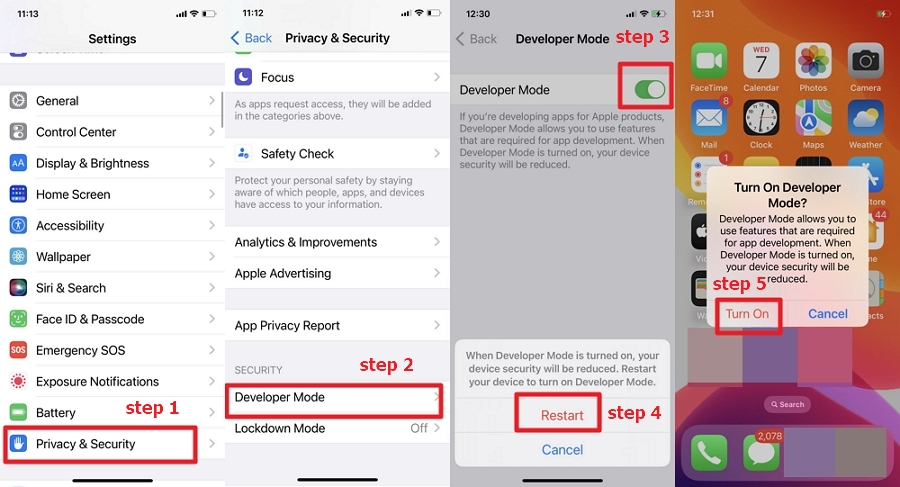
Step 3: Enable Developer Mode
By following these steps, you will be able to enable Developer Mode on your device easily.
Besides, you can also try a simpler method such as using MockGo, a GPS changer tool for iPhone devices, to trigger and enable Developer Mode using Windows and macOS computers easily.
Start by downloading and installing the latest version of MockGo on your computer. Visit the official MockGo website and choose the appropriate download link for your operating system (Windows or macOS).
Once MockGo is installed, launch the application and connect your iPhone to your computer using a USB cable.

Allow MockGo a moment to recognize your device. If prompted, follow the on-screen instructions to proceed.
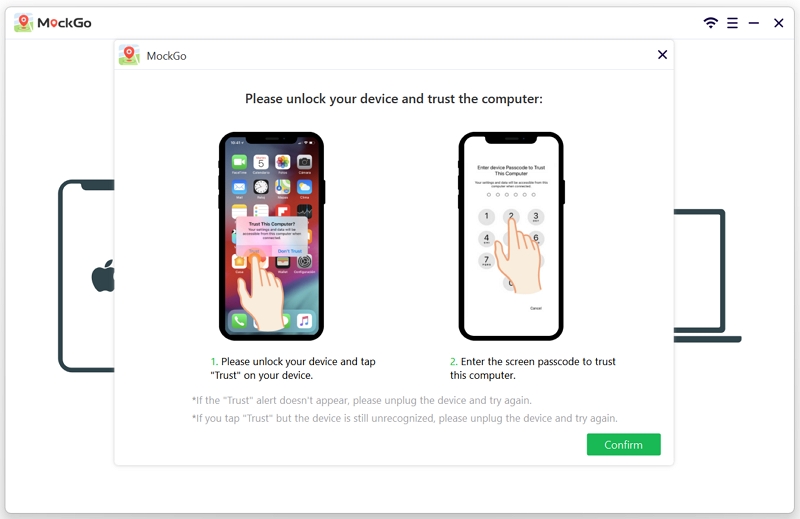
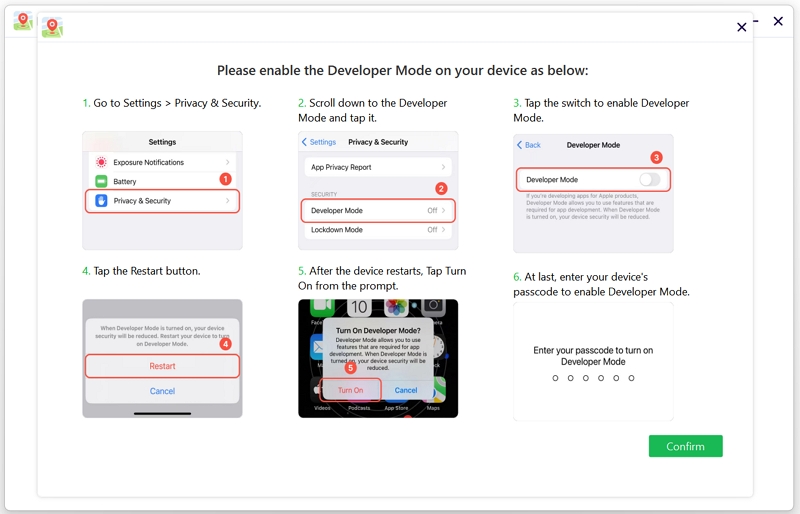
Now, follow these steps to enable Developer Mode on your iPhone:
Congratulations! Your iPhone is now in Developer Mode, allowing you to explore advanced features and conduct testing.
Unlike Android devices, iPhones do not inherently feature a pre-installed Developer Mode. To access this mode, you must trigger it using the above tools and then activate it through your device's Settings.
The utilization of Developer Mode on iOS carries inherent risks, potentially exposing your device to security vulnerabilities and compromising its stability. It is advisable to engage with Developer Mode only if you know what you're doing with it, reserving its use for specific tasks such as app development.
And that's all about why developer mode on your iPhone isn't showing and how to enable it correctly! Although it does seem like a tall order to undertake by yourself, but as someone who is a future app developer, a little technical application of skills shouldn't be an issue, especially when you have help with a tool like MockGo. So what're you waiting for? Get started with iOS Developer Mode and I can't wait to see what kind of apps you come up with!
