Oh, the dreaded "iPhone is disabled, connect to iTunes" message! We've all been there or at least know someone who has. Whether it's due to a curious toddler or a moment of forgetfulness, a disabled iPhone can feel like a frustrating barrier between you and your digital life.
But don't worry! We're here to share some insider tips to help you easily bypass that disabled iPhone screen. Buckle up and prepare for a smooth ride back to your digital world with our easy-to-follow guide.
Before we dive into the solutions to bypass the disabled iPhone, it's important to understand why this happened in the first place.
If you see the message "iPhone is disabled, connect to iTunes," it's usually because you've entered the wrong passcode too many times on the lock screen. Your iPhone becomes disabled as a security feature to prevent someone from trying to guess your passcode and access your device.
Here's how the delays work after entering the wrong passcode:
Note: If you've set your iPhone to erase all data after 10 failed passcode attempts, you'll have only 5 attempts before it gets disabled for one minute. Without this setting, you get 10 attempts before the iPhone is disabled.

This message means you've used up all the allowed passcode attempts, and your iPhone is now completely locked. To regain access, the only way is to reset your device.
If your iPhone is backed up to iCloud or iTunes, you can recover your data during this process. Without a recent backup, you may lose some new content, but it's still essential to reset your iPhone to get it working again.
While Apple suggests connecting your iPhone to iTunes or Finder on your computer and restoring it using Recovery Mode, there are other methods you can try to unlock your disabled iPhone. Keep reading to explore different solutions and choose the one that works best for you.
If your iPhone is synced with iTunes or Finder on your computer, you can easily restore it in a few steps.
Note: If your iPhone isn't synced with this computer, skip to the next solution.
Step 1: Connect the locked iPhone to the trusted computer and launch iTunes (or Finder for macOS Catalina and later).
Step 2: Click on the "Summary" button (for Windows or macOS Mojave 10.14 and earlier) or the "General" tab for newer macOS versions.
Step 3: Tap the "Restore" button and follow the on-screen instructions to complete the process.

If your iPhone isn't synced with a computer, don't worry! You can still restore it by entering Recovery Mode.
Step 1: For Windows PCs or older macOS, open iTunes. For macOS Catalina and newer, open Finder.
Step 2: Connect your iPhone to your computer and follow the steps below based on your model to enter Recovery Mode:
For iPhone 8 or Later (including iPhone SE 2nd generation and newer):

For iPhone 7, iPhone 7 Plus, and iPod Touch (7th generation):

For iPhone 6s or Earlier:

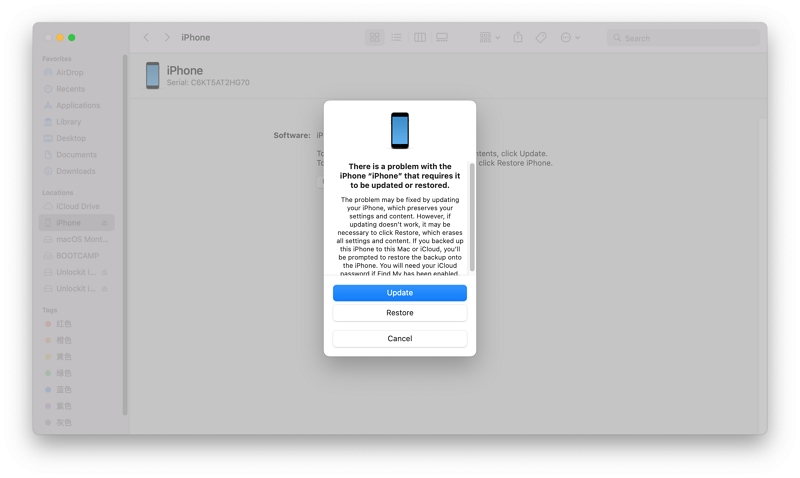
Step 3: When the message "There is a problem with the iPhone" appears, click "Restore", then "Restore and Update" to complete the process.
After restoring, you can use iTunes or Finder to recover your iPhone's backup. And you're done!
But what if your iPhone won't connect to iTunes or you prefer not to use it? Luckily, there is an alternative way to unlock your disabled iPhone without using iTunes. Unlockit iPhone is known as a professional iOS unlocking tool, allowing to bypass the disabled, unavailable, or security lockout screen on iPhone easily.
Why choose this software?
Key features:
Download the software on your computer and follow these steps:
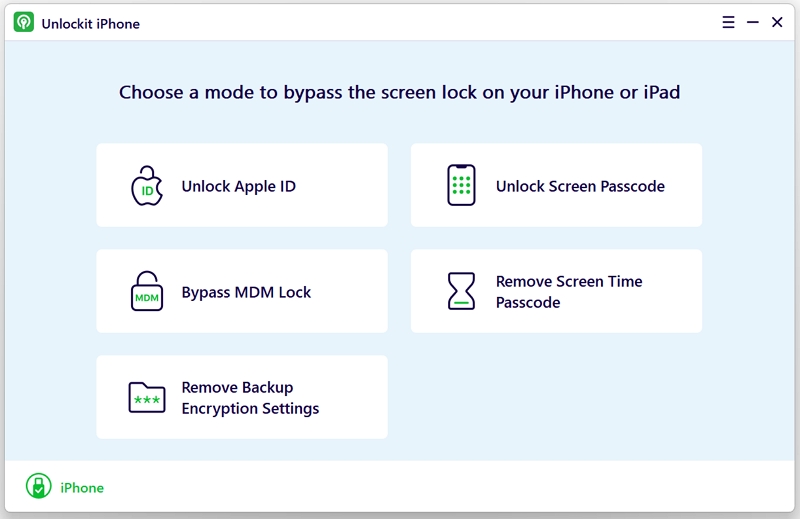
Step 1: Launch Unlockit iPhone
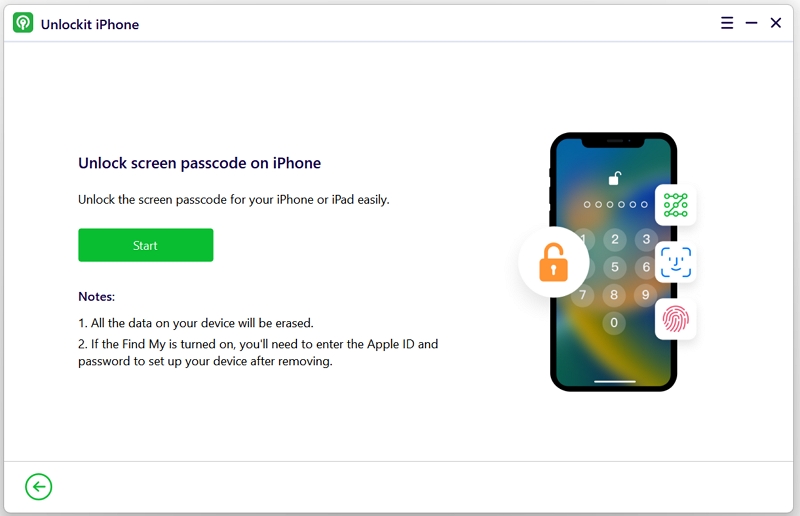
Once installed, run the software on your computer and select "Unlock Screen Passcode" from the home screen.
Then, connect your device via a USB cable and click "Start" to proceed.
Step 2: Download Firmware
Once Unlockit iPhone detects your device, download the necessary firmware.
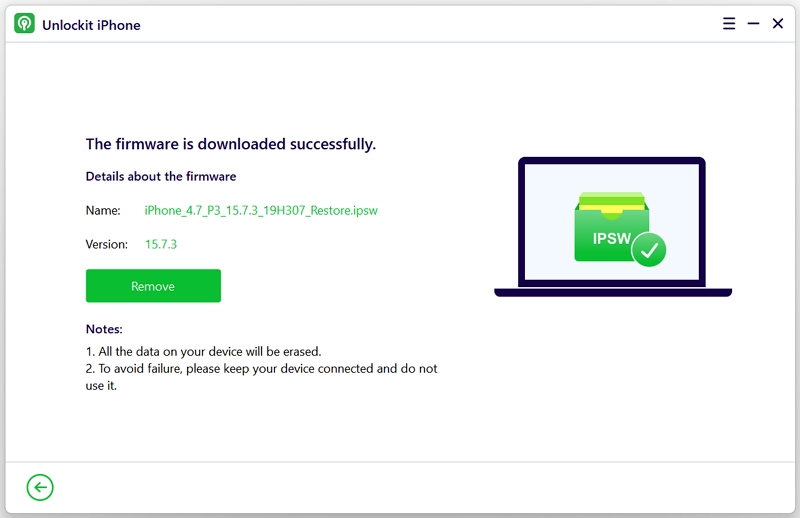
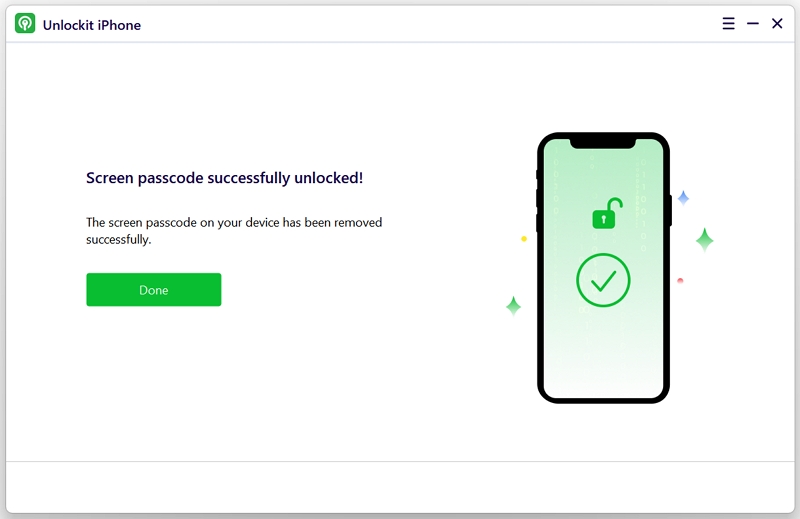
Step 3: Unlock the Disabled iPhone
Click "Remove," and the program will unlock the device. Afterward, you'll be notified once the process is complete. Now, you can disconnect your iPhone and set it up as a new device!
Don't have access to a computer? No problem! You can still restore your iPhone remotely using iCloud. Make sure that Find My has been enabled on your iPhone before it is disabled and that it's connected to a network.
Here's what to do:
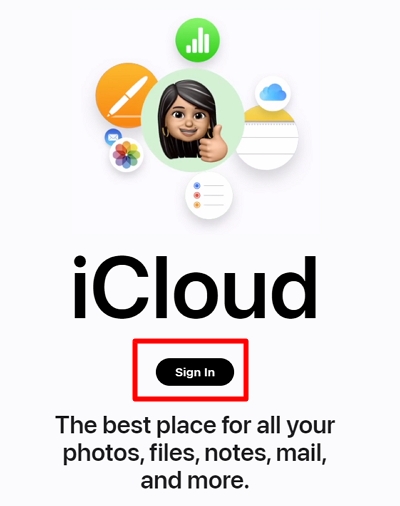
Step 1: Visit iCloud.com on any device and log in with your iCloud credentials.
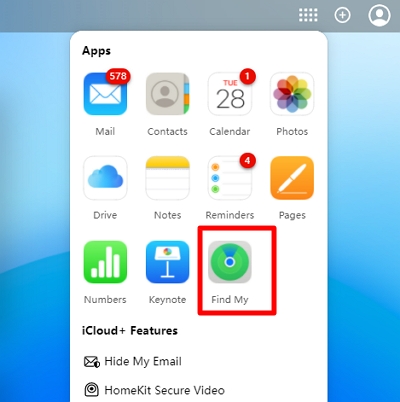
Step 2: Select "Find My" from the menu.
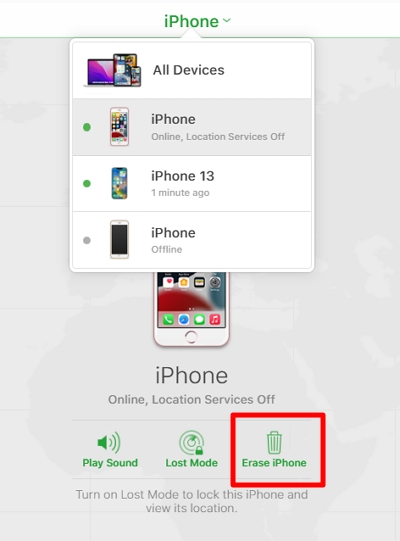
Step 3: Click on "All Devices" and choose the locked iPhone.

Step 4: Click "Erase iPhone" and confirm the action by entering your iCloud password.
After the reset, you can set up your iPhone and restore it from a backup.
We understand how frustrating it can be to get locked out of your iPhone. To prevent this from happening again, follow these tips:
That's all about why your iPhone shows "iPhone is Disabled, Connect to iTunes" and the ways to fix it. You can reset your disabled iPhone by using Recovery mode, Unlockit iPhone, or icloud.com.
Keep in mind that all these methods will erase all the data and settings on your iPhone. However, if you have a backup, you can restore your data after the reset is finished. Unfortunately, there's no way to unlock a disabled iPhone without losing data. If any tool claims to do this, be cautious—they are likely scams!


Mako is a technical writer with a passion for all things tech. Whether you're wondering about how to fix your iPhone or Android device or trying to get something to work in your settings, Mako is your go-to for professional help. He loves writing, testing solutions, and most of all, making sure his research is factually accurate.